
Intro #
I really enjoy sewing some cute small toys from felt, as they come out really cute!
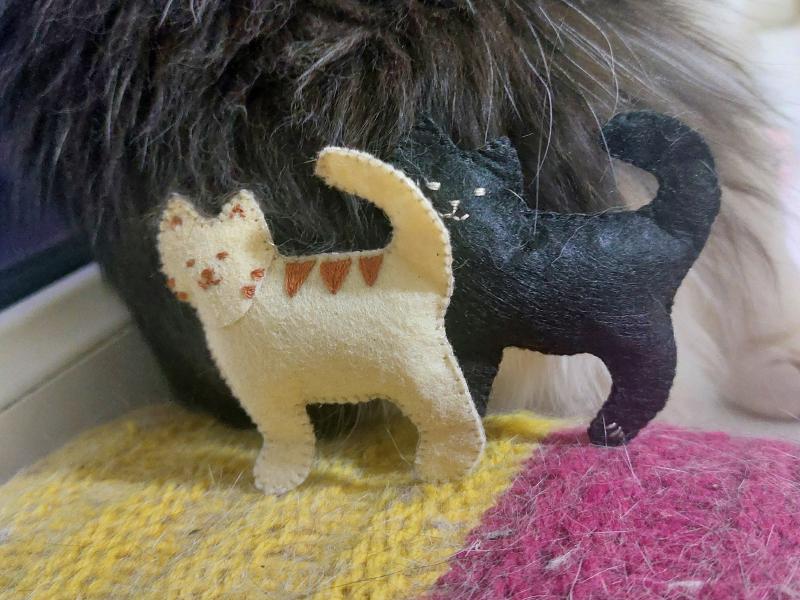
Recently on the internet I found some sewed cats which were very cute. So I decided, why not make such kitty myself? After several minutes on Pinterest, I got an idea of a very simple way of making it. I tried to catch every step I made to share on this blog! At the end of the article I will point out a slight difference between light and black cat, but for now you will be following the white cat.
Preparation #
For this cat you need:
- Felt
- Thread
- Needle
- Some toy stuffing (you can use cotton or anything else tbh!).
Begin #
Step 1 #
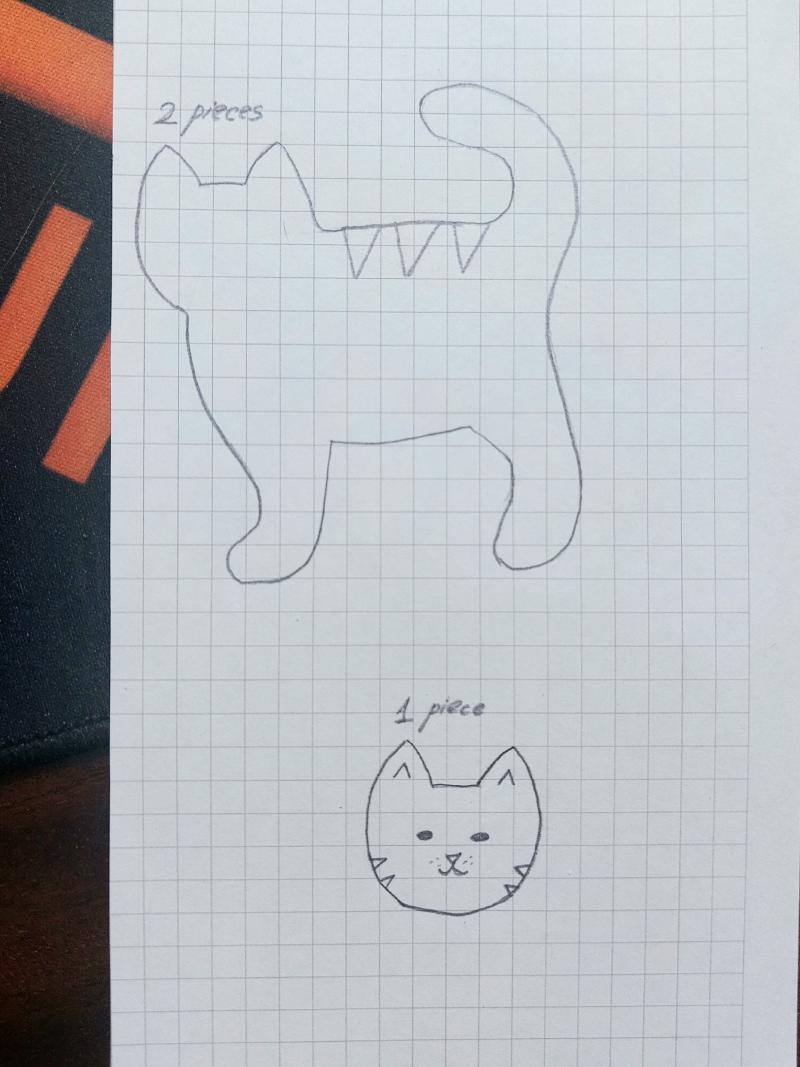
First of all, draw your own, print or redraw my cat shape on paper, and carefully cut it out. You should get body and head.
Step 2 #
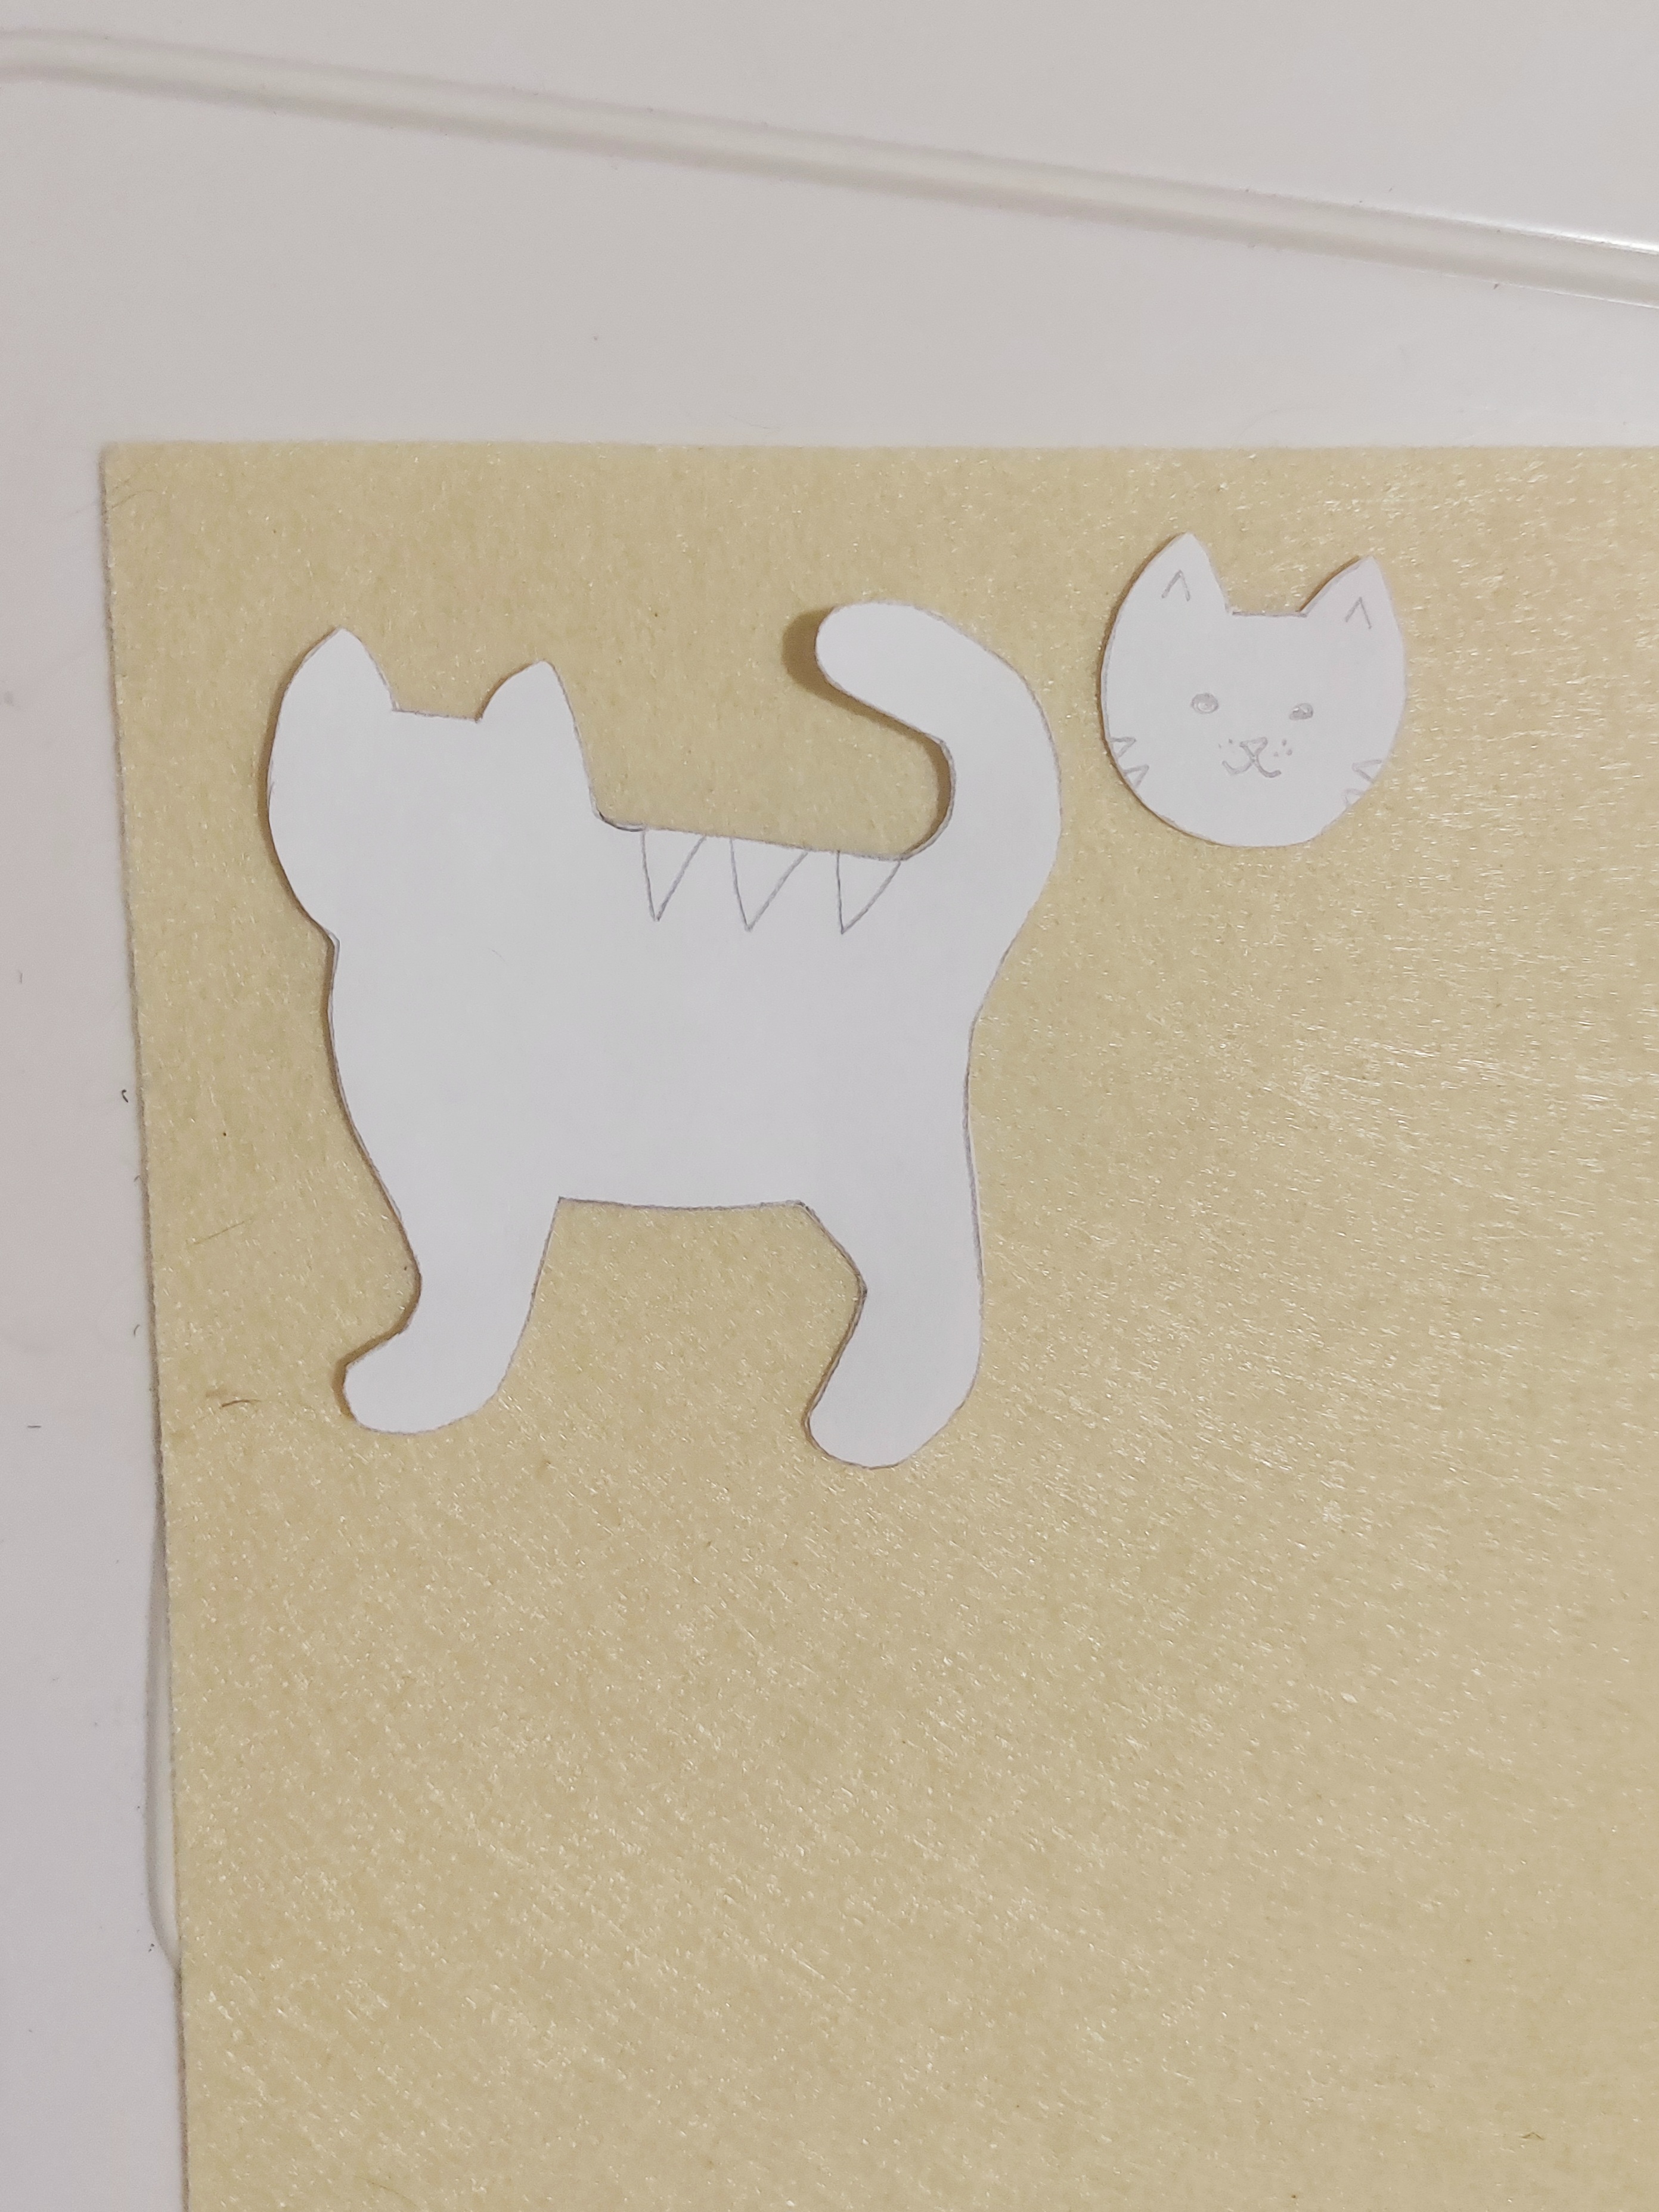
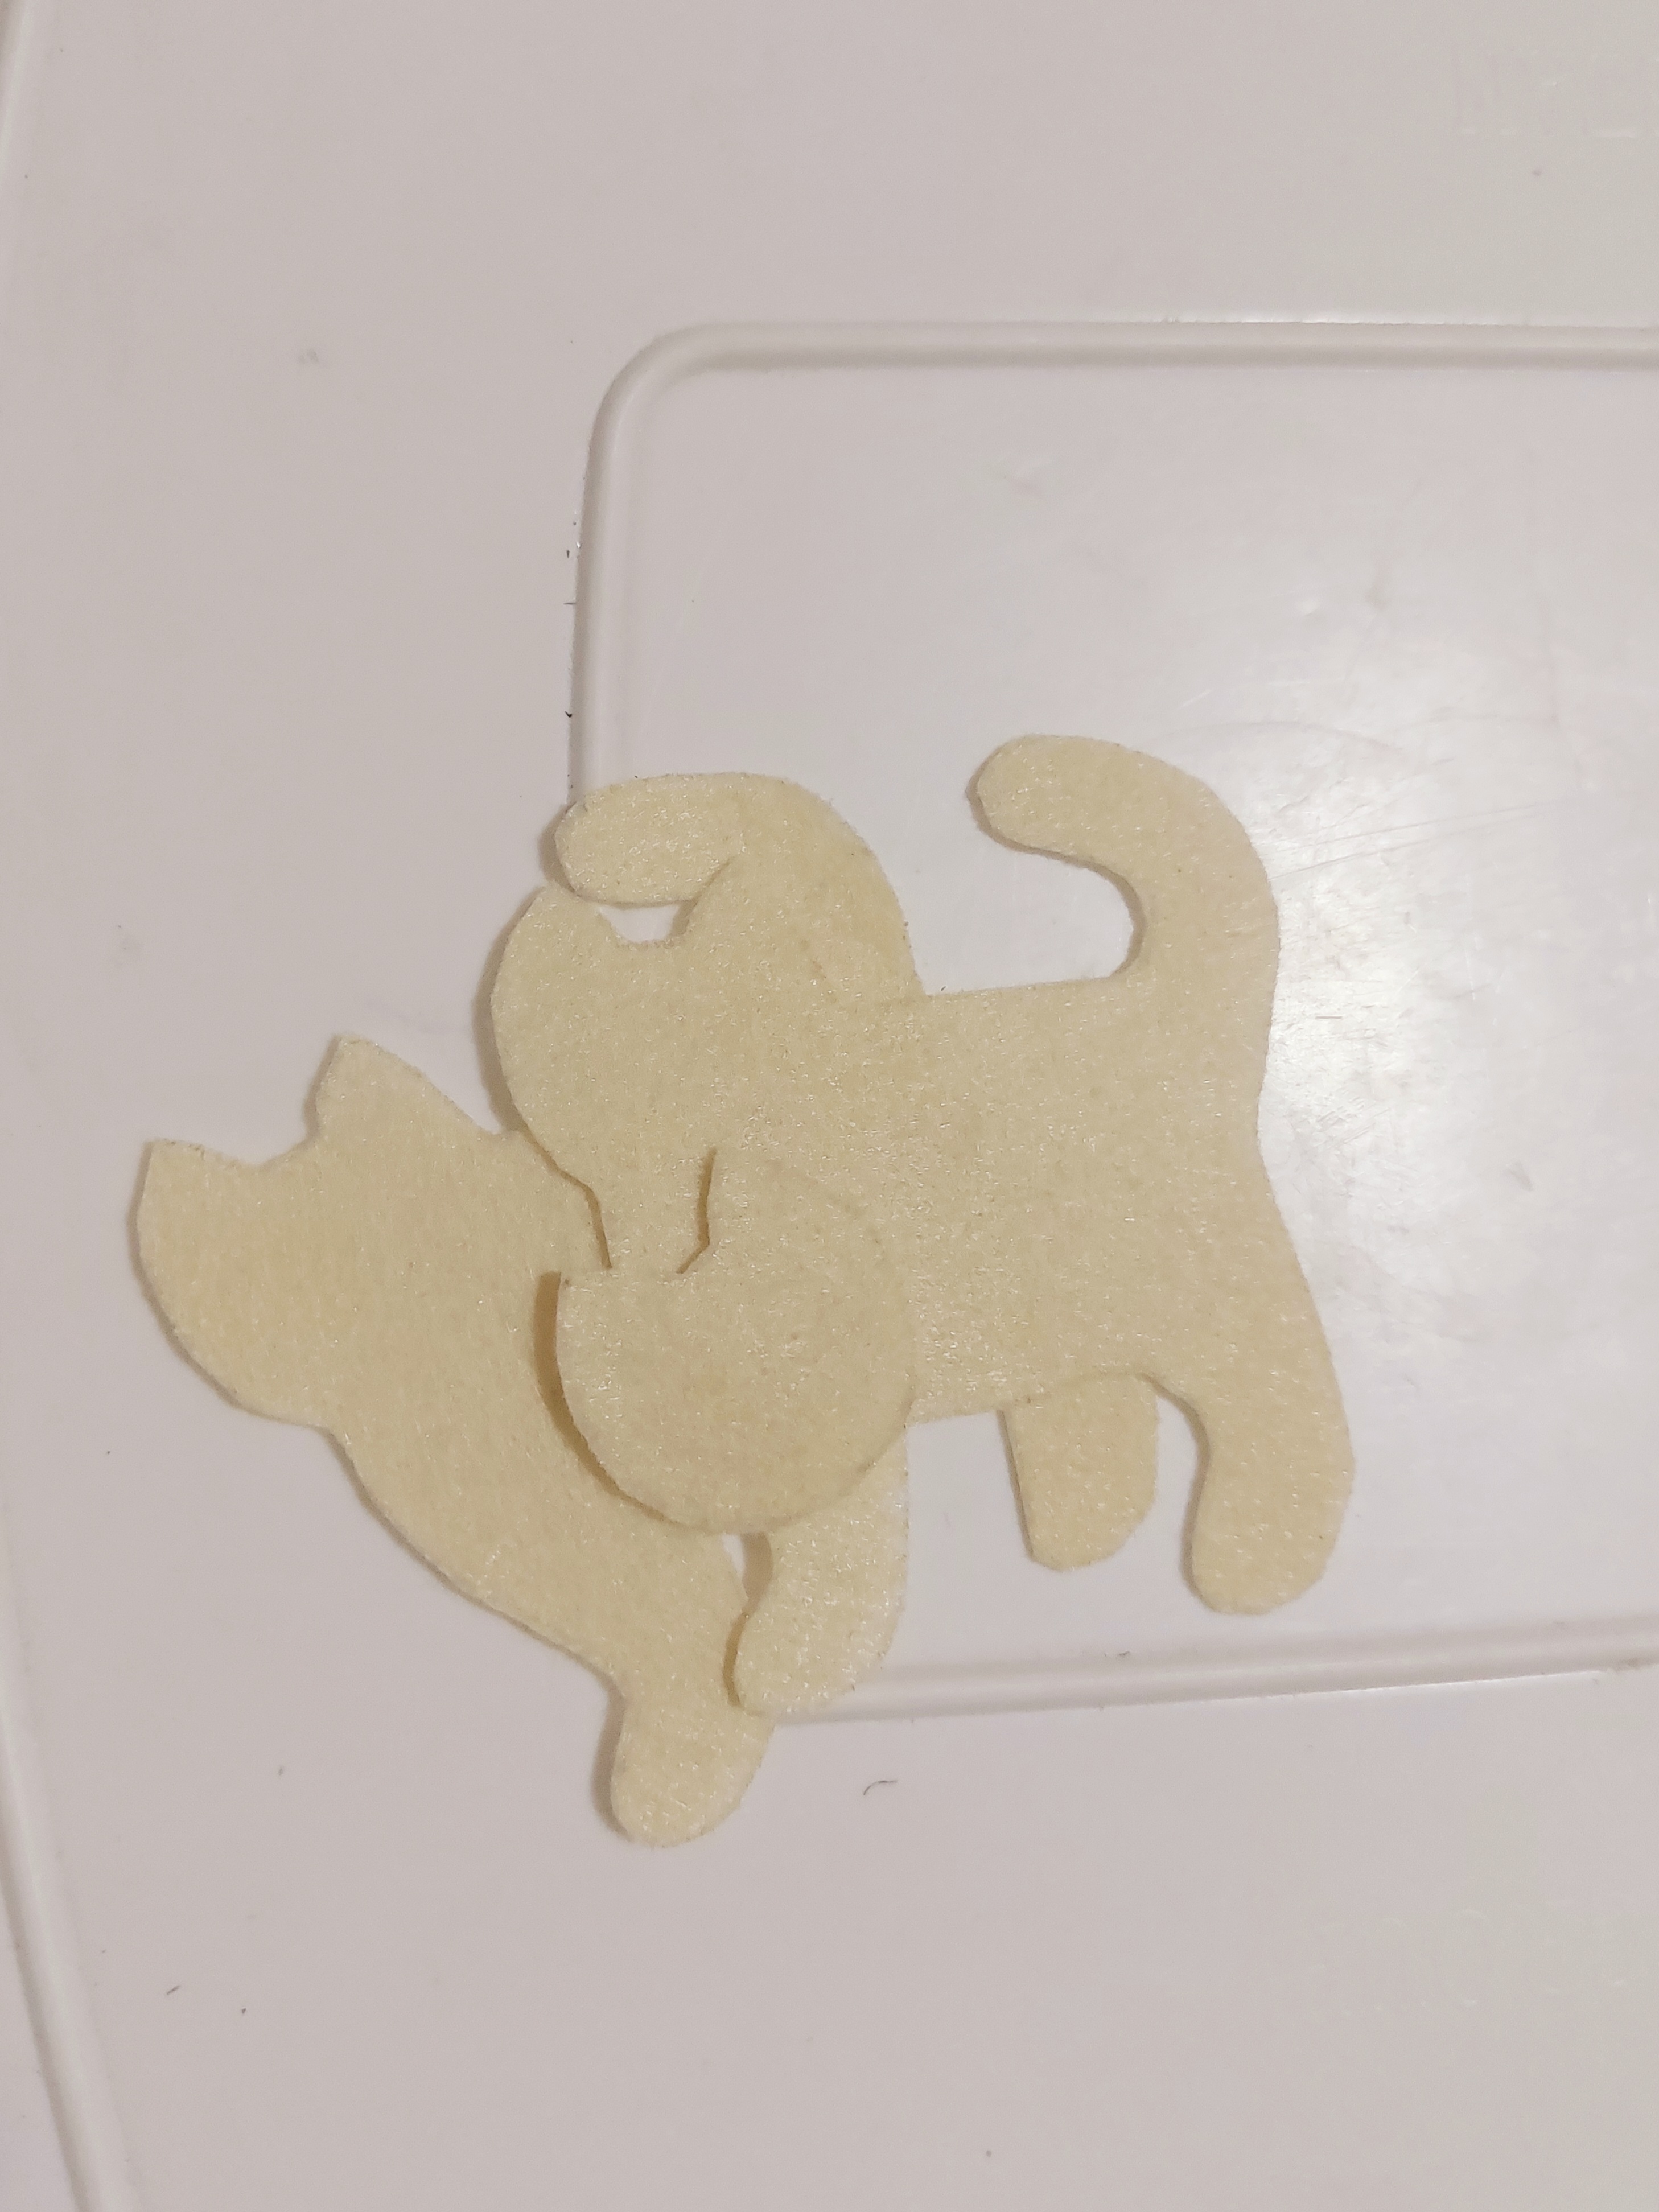
Then, put papers on felt and redraw it. You must get two identical felt bodies and one head. Cut it out
Step 3 #
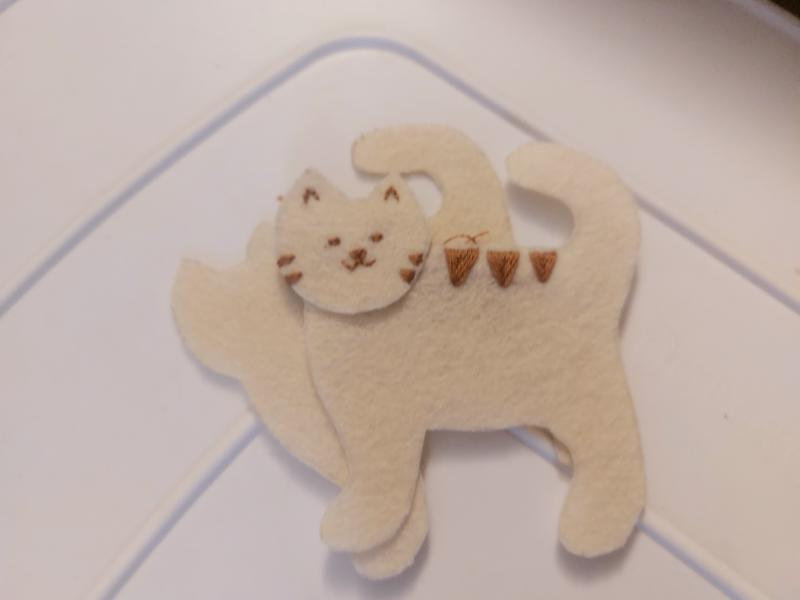
Now it’s time to embroider cat’s details! As you saw on the first photo, my cats look different, so the design is fully up to you! I used simple small stitches being close to each other. Take an important note that I embroidered on one body part and head, leaving one body untouched. It connects face to the rest of the cat.
Step 4 #
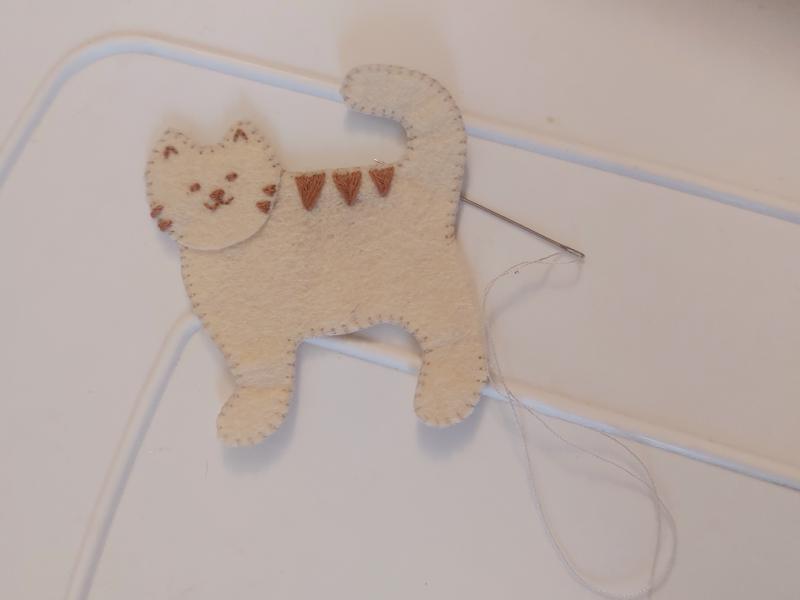
Once design was made, use blanket stitches to sew up parts on the edges. Do not stitch up to the end, as we will be filling the toy.
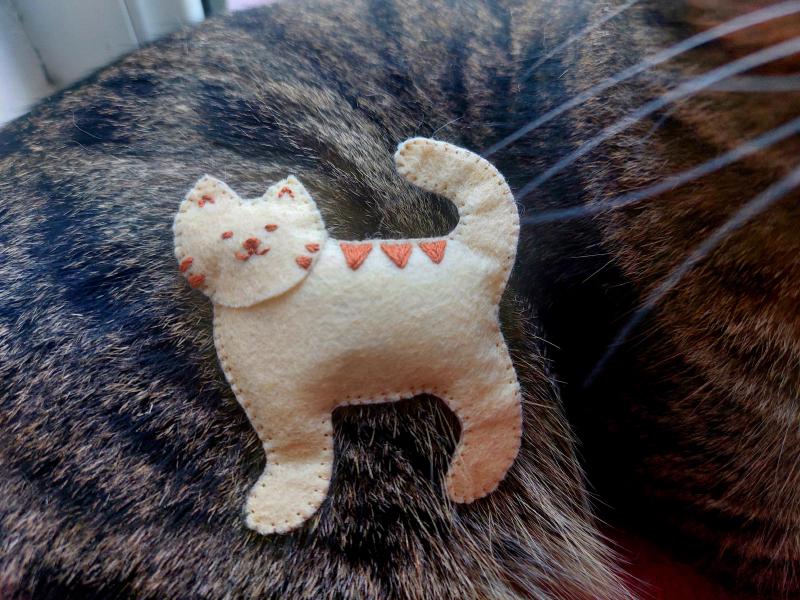
Step 5 (Final step) #
Near the end, take some stuffing and put inside the cat. Finish blanket stitching and ta da! Your cat is done!
Some notes #
A note about black cat. In light colored one I used an additional face to give some volume, while in black I did not. There I just embroidered right on one of the body parts and then sewed them up together, like I would do if had head.